Saturday, March 16, 2013

In The Hoop Puppet Tutorial

In this tutorial I will show you how an in-the-hoop puppet can be made by demonstrating a step by step procedure for making a cow puppet.  First, the digital design files can be purchased here
 
Each puppet comes in 3 sizes:
 
Adult (6x10 hoop)
Child (5x7 hoop)
finger (4x4 hoop)
 
Each puppet design will come with a complete instruction PDF with step by step instructions as shown below.  You will need Adobe Reader installed on your computer to open them.  You can download that here.

It may help to print out the page and have it next to your machine while you stitch it out.  I try to keep the instruction sheets simple and to the point.  However, in this tutorial, I will be more thorough, as to answer many questions you might have.

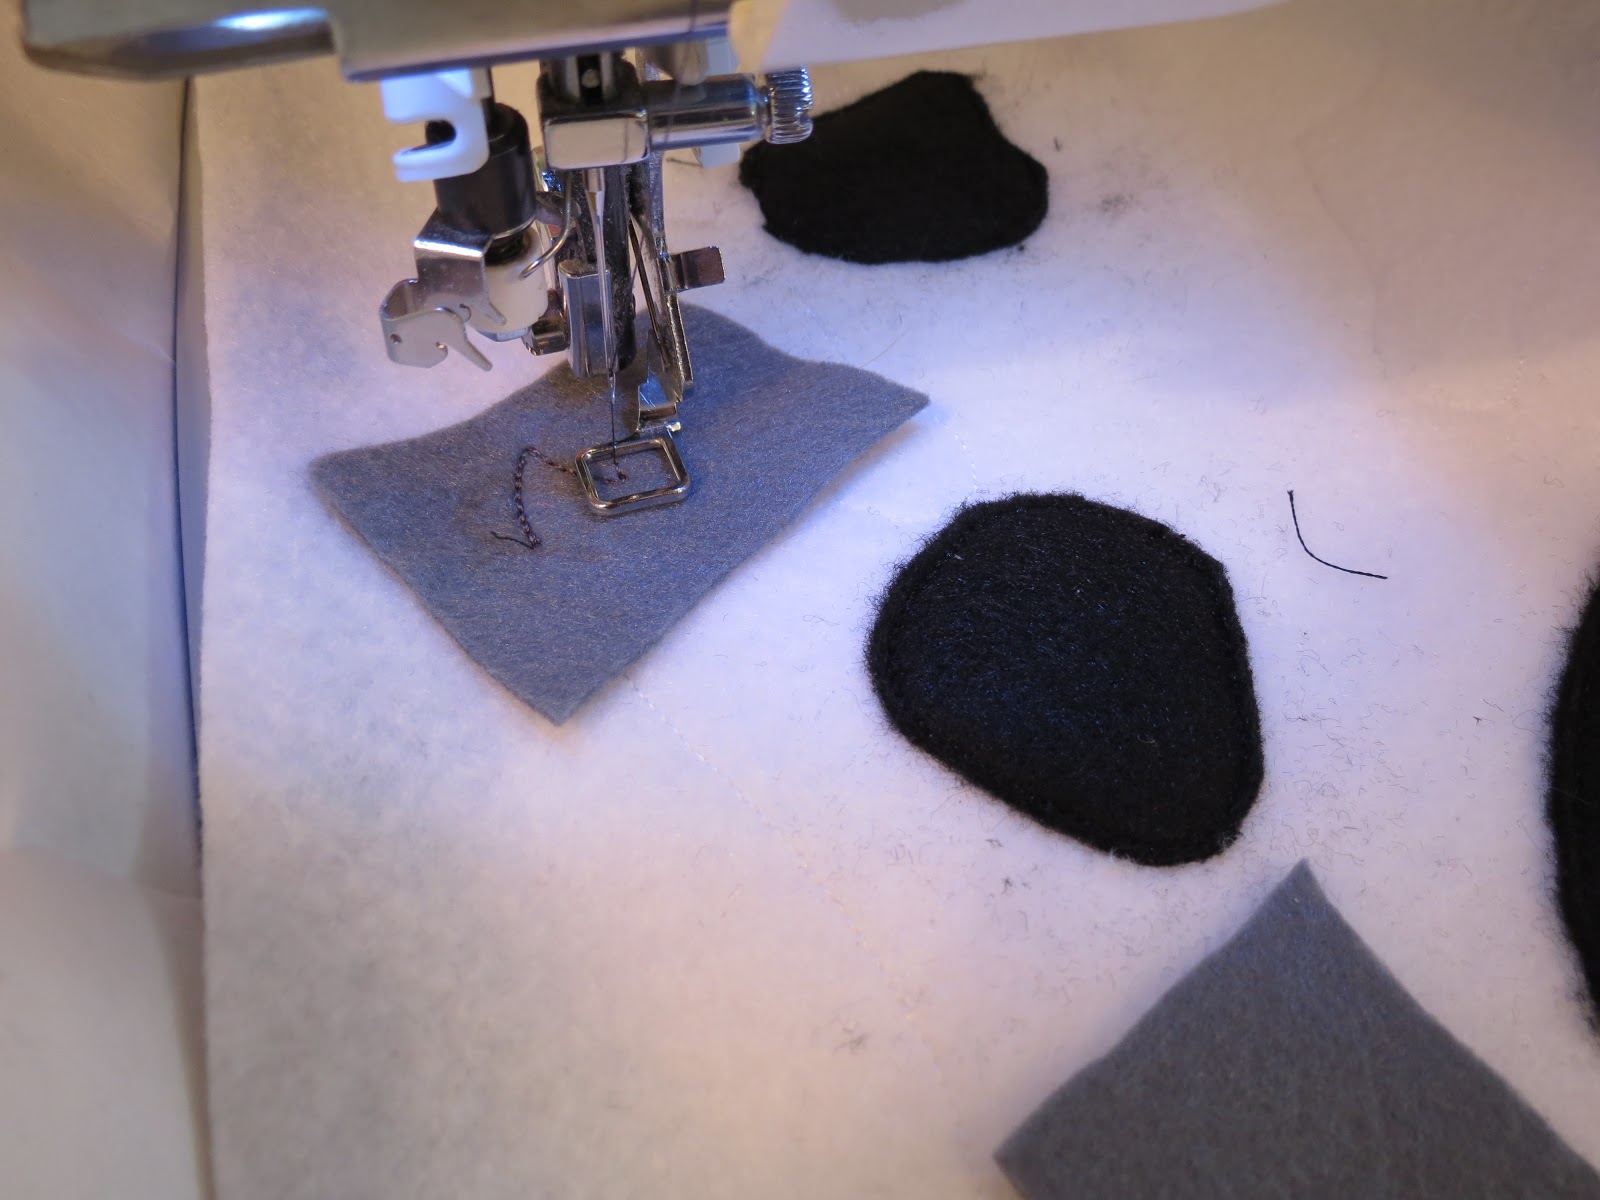
Please keep in mind that the PDFs that come with the puppets will show you the adult size puppet and the child size puppet.  For the finger puppets, a lot of the appliqued parts are replaced with filled-stitch parts instead.  On the cow, for example, with the adult and child size, the spots, snout, and hooves are applied as appliqued parts.  On the finger puppet, the spots, snout, and hooves are filled-stitch.

Step 1.  Hoop cut away stabilizer.  Try to use a nice, soft cut away stabilizer, as this will stay on the inside of the puppet when it is finished.  A medium weight will work nicely.

 
Step 2. Place the hoop in the machine and sew the first step. On the cow, this will show you where the horns go. 

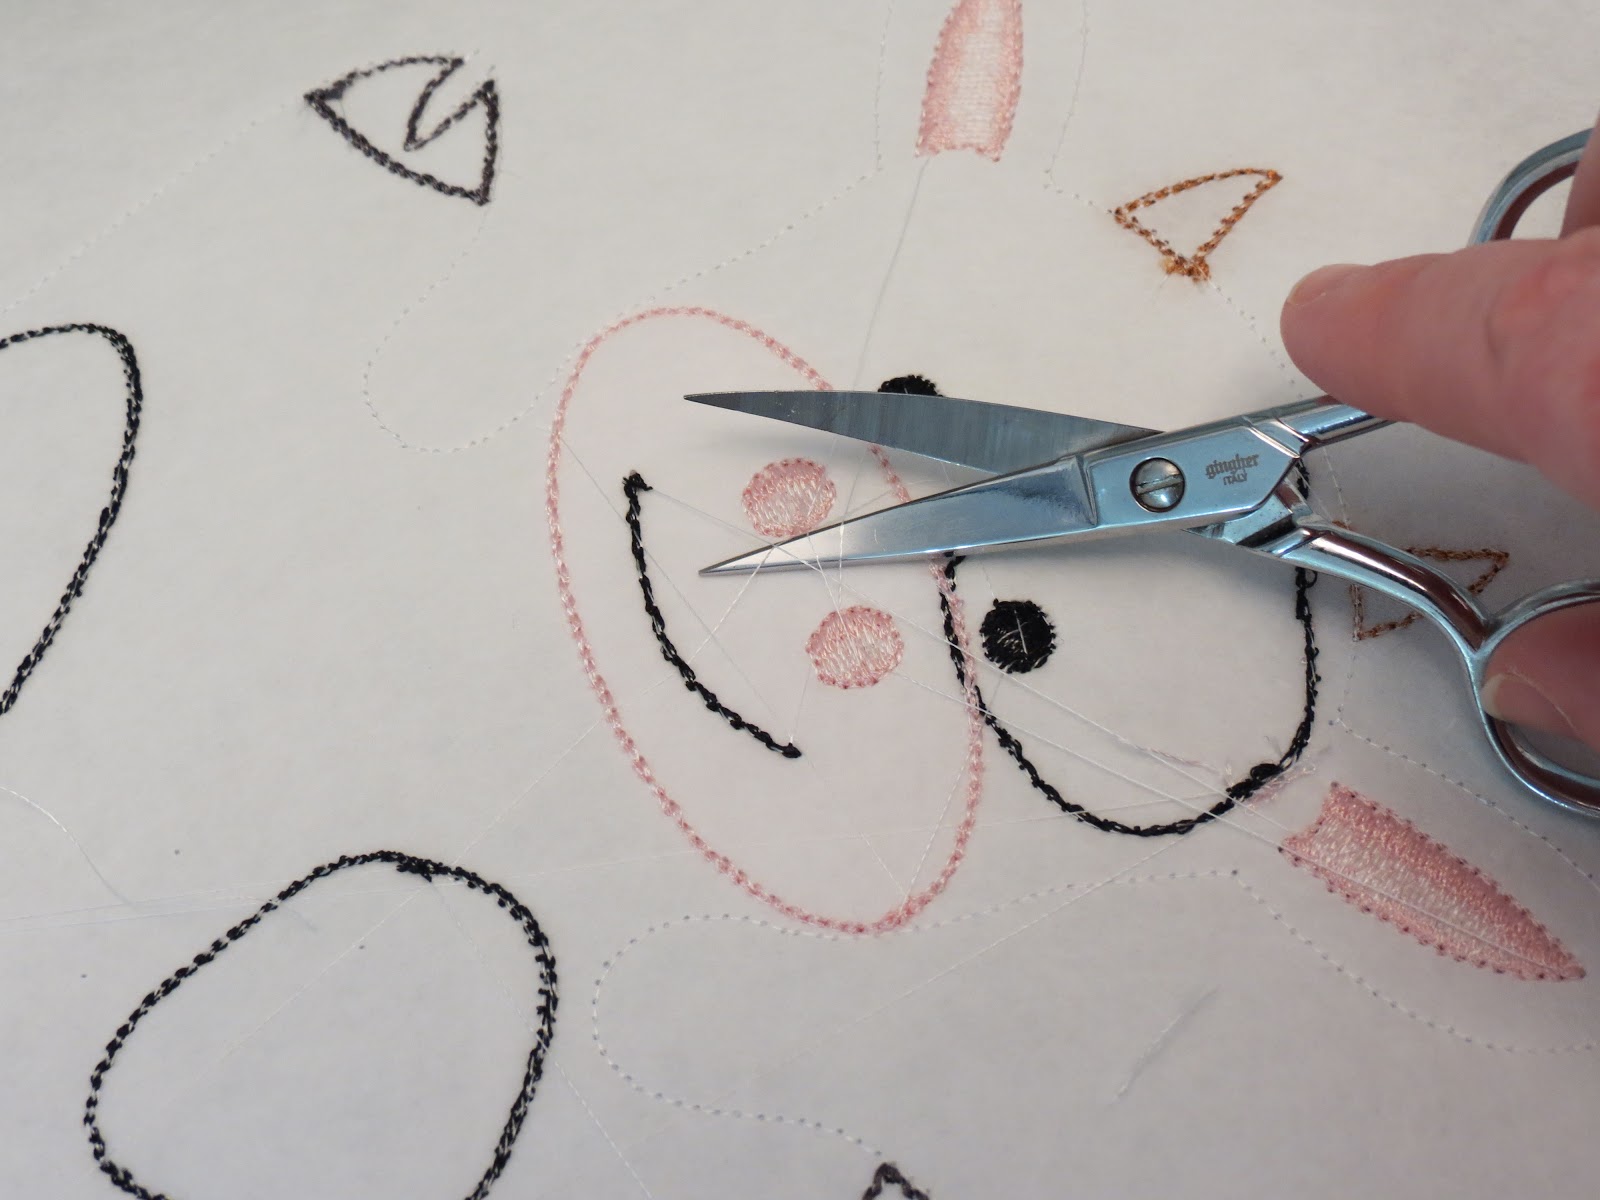
Step 3. Place a piece of felt large enough to cover the stitches and sew the next step which will tack down the horns.  Then trim all the way around the horns.

 
 Step 4.  Place a sheet of felt in the main color over the hoop covering the entire hoop.  Felt sold by the sheet is the perfect size if you are using a 6x10 hoop.  This can be held down with masking tape, but it may be fine just sitting on top of the hoop.  (This will be step two for puppets that don't have ears, horns, hair, or other objects that need to go behind. - For those puppets you will put the felt down before placing the hoop in the machine for the first time.)
 
 Step 4.  Sew the next stitches.  These stitches will tack down the felt while defining the edges of the puppet.  Do these stitches in the same color thread as the felt you are using.  Some of my designs might have gray thread shown here.  I only do that so you can see it easier.
 
 Step 5.  The spots will be applied next.  With each one, sew the first stitches and then place a piece of felt big enough to cover the stitches over top and sew the finishing stitches.  Then trim each spot carefully.  The finger puppet uses filled-stitch for the spots.

 
 Step 6.  The hooves are done in the same way as the spots.  Stitch and trim those carefully.
 
 Step 7. The snout is done in the same way as the spots and hooves. Stitch and trim it carefully.

 
 Step 8.  Next, sew the eyes, then the pink of the ears and nostrils.  These are filled stitches.
 
 Step 9.  Take the hoop out of the machine, but don't un-hoop.  Trim the threads.  This can't be done once the puppet is finished.  If the threads are left on, it won't be very comfortable to wear.
 
Step 10.  You will then Place a piece of felt on the BACK of the hoop taping it down on the top and bottom.  This will be the back of the puppet.  Be sure the piece is large enough to cover the entire puppet.  (I am showing you the pictures from the sheep puppet for this step.)
 
 
 Step 11.  Place the hoop back in the machine.  This step will sew the front of the puppet to the back.
 
Step 12.  Here is what the puppet will look like all finished, but still hooped.

 
 Step 13.  Remove from hoop and carefully trim around the edge of the puppet.  Be careful of the horns.
 
Finished Puppets!  Front and Back

The adult puppets will fit a woman's hand.  The child puppets fit my 6 and 9 year old nicely.  The finger puppets are finger puppet size.  If you need a bit more room, to accommodate a larger hand, a knit fabric can be used on the back, so that it will stretch. 

With this tutorial and a little help from the PDF, I hope I have made you feel at ease about trying an in-the-hoop puppet design.  Don't be intimidated, it looks complicated, but you can do it! 

Have a fabulous day!

Wednesday, February 20, 2013

A Bit of History

Welcome to The Applique Place Blog! My name is Beth and I am the owner of this blog and of The Applique Place.  On this blog I plan to post helpful tips for machine applique, a few tutorials, and a bit about us.  You will not be seeing a ton of blog posts from me, but I hope to post things that are helpful and informative, or at least fun.  I would first like to introduce you to my family and give you a bit of history on how I came to open The Applique Place.

This is us last June at the Currituck Beach Lighthouse on the outer banks of North Carolina.  My husband, Dave, and I have 4 daughters.

Karilyn, Heidi, Diana, and Baby Hannah

Dave and I were married in 2002, and God has blessed us in more ways than I could have ever imagined.  

Dave works as a network technician and helps me with the computer end of things when I have trouble. 

I became a Dental Hygienist in 2000 and worked full time until my oldest was born.  Then I worked part time up until my baby, Hannah was born.  I guess I've been on "maternity leave" for a year and a half.  I'm glad the girl that is filling in for me likes it at the office where I worked, I'm not sure if I will ever go back to hygiene.  

I own two other businesses;  My Little Hedgehog and Froggie's Swim Caps, also Froggie's Swim Caps on Etsy.  Both of these business have allowed us to have that bit of extra money so that I could stay at home with our 4 daughters.  In my shop, My Little Hedgehog, I sell personalized embroidered and appliqued products, mostly baby gifts, like bibs, burp cloths, and onesies.  I have over 2000 sales and my customers seem very satisfied. I started my etsy shop in 2009 and began by selling pre-made scrapbook pages and albums.  My very talented sister, Amy, still does this.  You can find her shop Journeys of Joy on Etsy.

I grew up sewing, I loved to sew by my mom's side making things like little sleeping bags and pillows for my dolls.  Through the process of growing up and college, I stopped sewing.  I found a new interest in sewing in 2009 when my Diana was a baby.  I made her a rag quilt and the rest is history.  I loved making all of my girls outfits and dresses.  For more on our early family history and the things I liked to sew, you can visit my old blog here.  One of my most favorite creations is the dress I made for my daughter, Heidi, using old fabric sample books:


Froggie's Swim Caps is a bit smaller than my hedgehog business, but I have a lot of fun with it.  I sell lycra swim caps in 4 sizes.   Lycra is the same type of fabric that swimsuits are made out of.  They are very comfortable.  I also make fancy swim caps, here are my two oldest and my sister's two oldest modeling some for me:


I got my first embroidery machine in 2010, and I was like a kid on Christmas!  I found embroidery to be very fun and rewarding!  It wasn't long before I got interested in learning to digitize. I have been working towards learning to digitize and open a design shop since November of 2011.  That's brings us to now.  My shop will officially be open on March 2nd, 2013.  

I will be offering things like simple appliques, in the hoop puppets, other in the hoop items, and various other designs depending on where I feel led.  

Thank you for visiting my blog!  

Have a Fabulous Day!